articles/Photoshop/getthelook-page6
Getting the Look - part 6 of 1 2 3 4 5 6 7 8
by Mike McNamee Published 01/07/2016

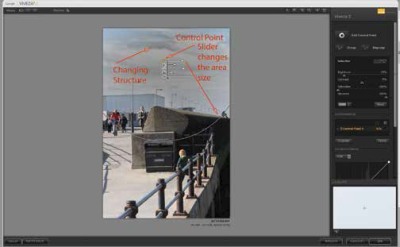
U-Point Technology
This was always billed as a headline for Nik Software and was eventually adopted by other people (eg Nikon) as part of their own processing workflows. Control points are dragged onto an image and the area of control may be scaled via a slider, as well as changing the strength of the various image parameters being considered. A number of control points may be cascaded onto an image to build up more complex areas of control.
U-Point remains one of the easiest and fastest ways of controlling the strength and area coverage of an adjustment, it really is a joy to use.

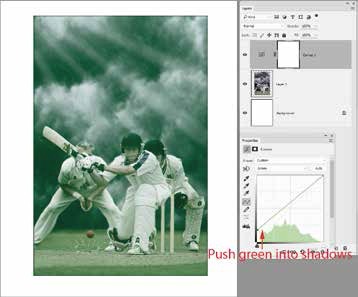
"Cinematic colour grading - Richard P Walton FSWPP
The great thing about colour grading is that it's really easy and quick, it can transform the look and feel of a photograph. I often use colour grading techniques, especially in the more avant-garde portraiture.
My method is simple, I create a new blank layer on top of my photograph and then fill it with the colour I want to apply, I then change the blending mode and opacity to the required taste. The style I want dictates the blending mode I use, but I find overlay, softlight, hue or subtract to work the best. I like to use blues, greens and browns generally but any colour can work."
Please Note:
There is more than one page for this Article.
You are currently on page 6
- Getting the Look page 1
- Getting the Look page 2
- Getting the Look page 3
- Getting the Look page 4
- Getting the Look page 5
- Getting the Look page 6
- Getting the Look page 7
- Getting the Look page 8
1st Published 01/07/2016
last update 09/12/2022 14:54:39
More Photoshop Articles
There are 0 days to get ready for The Society of Photographers Convention and Trade Show at The Novotel London West, Hammersmith ...
which starts on Wednesday 15th January 2025


