articles/Photoshop/photoshopbridge-page1
Photoshop For Beginners Using Bridge - part 1 of 1 2
by Mike McNamee Published 01/04/2010

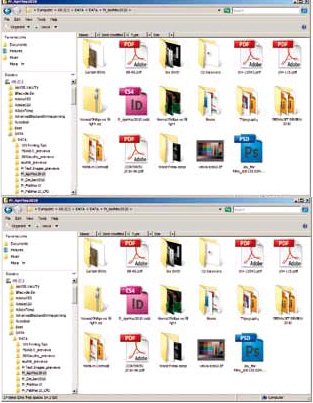
Bridge acts like a super file browser and at the basic level it has the functionality of Windows Explorer. In Explorer you may look at (some) thumbnails, move, copy, arrange or delete files. In Bridge you can 'see' more files (most graphics files have thumbnails visible to Bridge) and you may also open files, delete, move or copy them. In addition you have a larger (and variable-scale) preview and thumbnails, along with an ability to scroll through multi-page pdf files. You may also classify, grade, arrange and filter files in Bridge
Most of this may also be done in Lightroom and Aperture, but these programs have to be purchased separately and also learned. If your work involves graphic design then you are almost certainly better using Bridge as you often need to 'see' many different types of file format.
The Interface
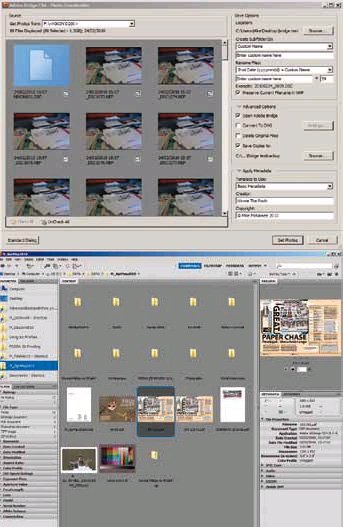
The interfacfor Bridge is indefinitely flexible but there are four defaults: Essentials, Film Strip, Meta Data and Output. Additionally there is a drop-down menu which lists the defaults, but adds Keywords, Previews, Light Table and Folder Options. You may arrange the interface to your liking and then save the arrangement as your own workspace (or spaces). It then appears in the drop-down and takes the default shortcut of Ctrl F1. The sub-panes (eg Keywords, Collections or Favourites) may be switched in via the menu bar dropdown.
The background grey may be varied from black through to white in the Edit>Preferences>general pane.

Favourites
This pane is very useful and should be organised and maintained. Drag (say) the current wedding or shoot into Favourites and, regardless of how deeply buried the folder might be on your system, it is always only one mouse-click away. When the wedding is completed remove the shortcut from your Favourites pane and add in the latest one. If you are operating across a number of folders (eg originals, finished, album pages) then put all three in Favourites to make life easier.
File Handling
It seems that the change to digital is labouring most photographers with a large number of files to process into their systems. One of the claimed advantages of Aperture and Lightroom is the speed with which grading and adjustments may be made and this is certainly true. However, there are many facilities within Bridge that are underemployed, often through lack of knowledge and, to some extent, this is the purpose of this feature - be warned though, it is a rather dry subject, which delivers its benefits only in the future as your image bank expands!
The Photo Downloader
This facility is confusingly named in the primary menu bar as 'Get photos from Camera'. It is confusing because it actually takes images from the camera CompactFlash card and this is better accomplished using a dedicated card reader. The miniature connectors on a camera and a reliance on the camera battery power mean that using the camera as a sort of external hard drive is not recommended! In any case, good practice at things such as weddings is to spread the day over a number of cards and so you will invariably have more than one card to download.
There are two panes for the Downloader, the second of which is billed as Advanced. Within either you may download your image files, back them up to a second drive, rename them and, should you choose, clear your CompactFlash card of images after download. The system remembers the download file folder addresses but not the custom file name, this you have to type for each successive card. This is a pain but the pain may be alleviated by copying the custom name to the clipboard and pasting it (Ctrl C to copy; Ctrl V to paste) each time. This is actually quite important as, if you name your files with the name of the client and it's Micha Wojciechowski, you are going to have a job on your hands. Making a spelling error will cause false file sorting at later stages!
The Advanced Downloader also allows you to tag files for copying which can be useful if more than one job is on a card and they need to be routed to different folders and archives.
Analysis
The Filter tab opens a number of data fields which, in turn, enable you to perform analysis of a folder of files. Suppose you harbour a suspicion that one of your lenses is a little soft. Using the filter (see screen grab) you can select just the images from that lens and review them critically. You may of course use any of the other criteria in the meta data.
You are currently on page 1 Contact Mike McNamee
1st Published 01/04/2010
last update 09/12/2022 14:57:49
More Photoshop Articles
There are 0 days to get ready for The Society of Photographers Convention and Trade Show at The Novotel London West, Hammersmith ...
which starts on Wednesday 15th January 2025


