articles/Equipment/scifi-page1
The Scifi of Eye-fi - part 1 of 1 2 3 4 5
by Tom Lee Published 01/08/2012

Setting Up
Before we start, it's important to state that the Eye-Fi system is not a replacement for the tethered or manufacturers' wireless systems because it's not as efficient, however, it does provide a cost effective, compact and versatile method to transfer images to the computer or internet, complete with GPS data all in one go, for less than £60.
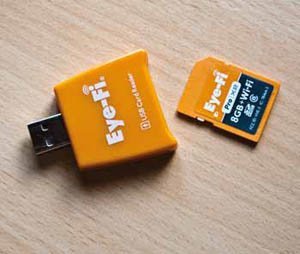
The innocuous package arrived in the post and I was immediately struck by the size (or lack of it) and marvelled at how much could be packed into so little. The pack includes an SD memory card, which incorporates the set-up and wireless software, and a USB card reader. Although there are several card types I chose the 8GB Pro X2 card which has the ability to transfer RAW files as well as JPEG. Reports have come back from some users that it's difficult to set up (many months back we tried, failed and sent the unit back un-reviewed - Ed). A visit to the Eye-Fi website shows a list of cameras that the card has been tested against, but the card will work with most modern cameras even if not listed (including the D3).

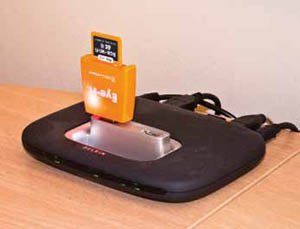
Start by placing the SD card in the USB reader and plug into a suitable port on the computer that you want to view images on. Open the files included on the card and install the Eye-Fi Centre set-up dialogue in order to make system changes to suit your camera and workflow preference. The set-up is fairly intuitive but might lead you astray if you don't read all your options (this is where I think that most people are having problems).
Depending on the type of photography you are doing (studio or event) you may want to set up the system in different ways. The method described below is the one I use for my studio work.
You are currently on page 1
- The Scifi of Eye-fi page 1
- The Scifi of Eye-fi page 2
- The Scifi of Eye-fi page 3
- The Scifi of Eye-fi page 4
- The Scifi of Eye-fi page 5
1st Published 01/08/2012
last update 09/12/2022 14:58:45
More Equipment Articles
There are 0 days to get ready for The Society of Photographers Convention and Trade Show at The Novotel London West, Hammersmith ...
which starts on Wednesday 15th January 2025


