articles/Software/coldigdarkroom-page6
The Colour Digital Darkroom by Paul Gallagher - part 6 of 1 2 3 4 5 6 7
by Paul Gallagher Published 01/07/2016

10
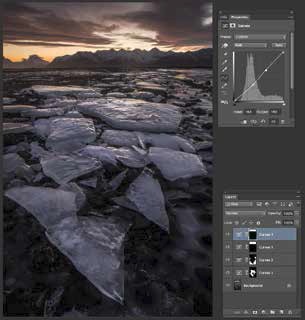
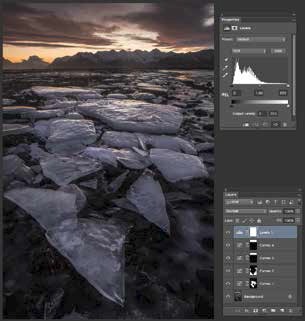
All that was left for me to do now was to make a stamp layer and sharpen the image ready for print and sales. A stamp layer integrates all of the adjustment layer changes you have made into one layer that appears at the top of your layers in your layers palette upon which you can sharpen. To do this, click on SHIFT>ALT>CMD>A (on a Mac) OR SHIFT>ALT>CNT>A (on a Windows machine). When this layer was created I simply clicked on FILTER>SHARPEN>SMART SHARPEN (Image 12). I set the values appropriate for this image with an amount of 160%, a radius of 1.1 pixels and I added a noise reduction of 33% to mitigate against noise in darker areas and areas of smooth tonality such as the skies.

11
It goes without saying that your approach to each image will be different as there will be individual tones that you will want to adjust, but the process is one I follow for every image I sell and it is one that has allowed me maximum control and refinement and the resulting image does not look like it has been 'recovered' as opposed to having been 'refined'.
Please Note:
There is more than one page for this Article.
You are currently on page 6
- The Colour Digital Darkroom by Paul Gallagher page 1
- The Colour Digital Darkroom by Paul Gallagher page 2
- The Colour Digital Darkroom by Paul Gallagher page 3
- The Colour Digital Darkroom by Paul Gallagher page 4
- The Colour Digital Darkroom by Paul Gallagher page 5
- The Colour Digital Darkroom by Paul Gallagher page 6
- The Colour Digital Darkroom by Paul Gallagher page 7
1st Published 01/07/2016
last update 09/12/2022 14:52:34
More Software Articles
There are 0 days to get ready for The Society of Photographers Convention and Trade Show at The Novotel London West, Hammersmith ...
which starts on Wednesday 15th January 2025


