


articles/Software/filterfactorymasking-page4
by Mike McNamee Published
5. Click Image>Calculations then set the outcome to New Channel and the Blending to Multiply.
6. Click on the new channel (Alpha 1) the hit Ctrl-L to bring up the Levels and pinch the setting so that they read 22/1.00/161. This has the effect of strengthening the contrast and further isolating the bright spots.
7. Load the channel Alpha 1 by Ctrl-clicking it to produce marching ants.
8. In the Layers Palette click New Fill layer (the diagonal black /white circle), then select Pattern, then choose your recently made skin pattern from the drop down. A new layer will not appear on your layers palette, flesh coloured complete with a mask which looks like your modified blue channel. Your model's eyes are likely to be flesh coloured - do not panic yet!
9. In the Layers Palette, create a New Group, then push the skin pattern layer into it.
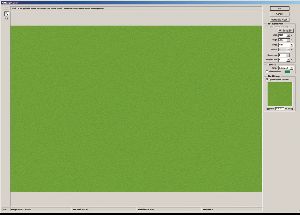
10. Click on Group 1 to make it active then Alt-click the Add a Layer Mask icon. Your effects all vanish as the black layer mask hides all. It looks like this.
There are 0 days to get ready for The Society of Photographers Convention and Trade Show at The Novotel London West, Hammersmith ...
which starts on Wednesday 15th January 2025


SWPP - Society of Wedding and Portrait Photographers
The Society of Photographers
Clwyd Chambers, Clwyd Street, Rhyl, Denbighshire, LL18 3LA, UK
Tel 00 44 (0) 1745 356935
Home Page - Find a Photographer - Benefits of Membership - Events and Seminars - Who's who - Photographic Trade Directory - About - Qualification Structure - Mentor Me Programme - Professional Imagemaker Magazine Articles - FREE information pack - Privacy