articles/Photoshop/retouchornottoretouch-page5
To Retouch or Not to Retouch - part 5 of 1 2 3 4 5
by Christina Lauder Published 06/06/2012

Now take a soft brush with low opacity (foreground colour set to white) and start painting in the areas you want softened. Build it up gradually so the effect is natural looking. If when you're done you find it looks a little unnatural just reduce the opacity of that layer until it does look natural. Finally I finish with a little sharpening on the eyes. I always like my portraits to have pin-sharp eyes.
There are many tools for doing this and again I usually use Kubota Actions, however, as mentioned above I will use just Photoshop here. Start as we did with the softening and create a new flattened layer.
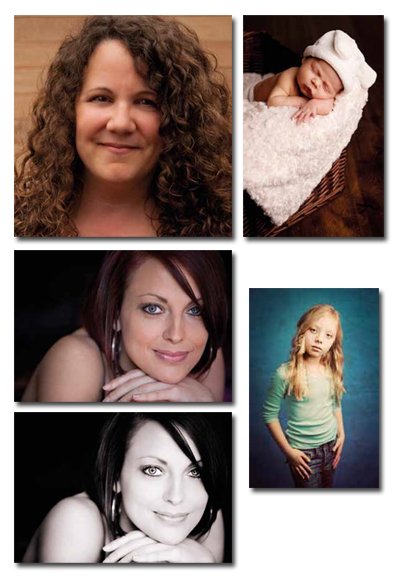
Again run the high pass over this layer set to 10 and set the blend mode to Overlay. This produces a very sharp top layer. We obviously don't want the entire image sharpened so again add a layer mask to allow you to paint in what needs sharpening. I like my eyes (just the iris - not the whites) along with the eyelashes sharpened. I may also include a highlight on lip-gloss as well as earrings, necklace, or ring, basically anything that would benefit from looking sharp. Above is the finished image.
So that is how I would normally process an image ready for print for my clients. Other enhancements may include adding a little punch, texture, toning, vintage effects, vignetting, etc. I've included here a few other before and after images so you can see what else can be done using software.
Please Note:
There is more than one page for this Article.
You are currently on page 5
- To Retouch or Not to Retouch page 1
- To Retouch or Not to Retouch page 2
- To Retouch or Not to Retouch page 3
- To Retouch or Not to Retouch page 4
- To Retouch or Not to Retouch page 5
1st Published 06/06/2012
last update 09/12/2022 14:58:34
More Photoshop Articles
There are 0 days to get ready for The Society of Photographers Convention and Trade Show at The Novotel London West, Hammersmith ...
which starts on Wednesday 15th January 2025


