articles/Photoshop/endgame-page3
The End Game Setting End Points - part 3 of 1 2 3 4
by Mike McNamee Published 01/02/2006

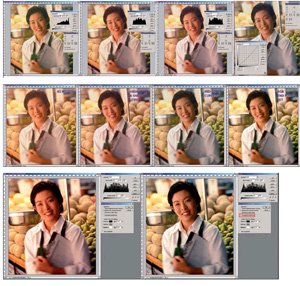
14. The last two moves have the effect of neutralising the highlights.
When you perform this operation you will find that the adjustments affect each other and you could find that the curve moves have shifted your (formerly neutralised) shadows and highlights. If this is the case go back and tweak them as necessary.
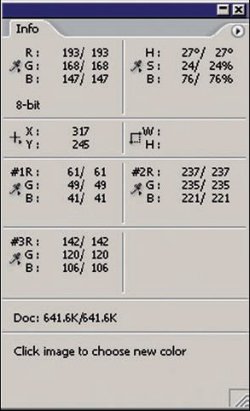
The final adjustment that we made was to go back and adjust the overall levels in the RGB composite channel to bring up the contrast. We did this by holding down the Alt key while using the highlight and then the shadow slider to reveal the highlight clipping point and the shadow clipping point (ie vales reaching over 255 and down to zero RGB points).
Although the procedure seems complex when written down (DVD-movie is a far better medium to learn this trick!) once you have done it a couple of times it becomes second nature and is certainly faster than grinding the Colour Balance box endlessly as you attempt to second-guess what the colour bias is - this method measures it and removes the user's eyes from the equation - often a good idea!

There are other, simpler methods of approaching colour balance problems which may work in some circumstances and are certainly worth a try - always go for the simplest, fastest way to get a job done unless you have reason to be fanatically careful about the colour.
If you are sure that the colour bias is a simple, single colour one you could try the Photo Filter in the Image>Adjust dialogue menu. This is very useful if you want a quick method of lifting the warmth of a portrait. However it did not work with the test image used in this feature.
Please Note:
There is more than one page for this Article.
You are currently on page 3
- The End Game Setting End Points page 1
- The End Game Setting End Points page 2
- The End Game Setting End Points page 3
- The End Game Setting End Points page 4
1st Published 01/02/2006
last update 09/12/2022 14:53:47
More Photoshop Articles
There are 0 days to get ready for The Society of Photographers Convention and Trade Show at The Novotel London West, Hammersmith ...
which starts on Wednesday 15th January 2025


